Ultimate Guide to Making Your Own DIY Crochet Bodycon Dress
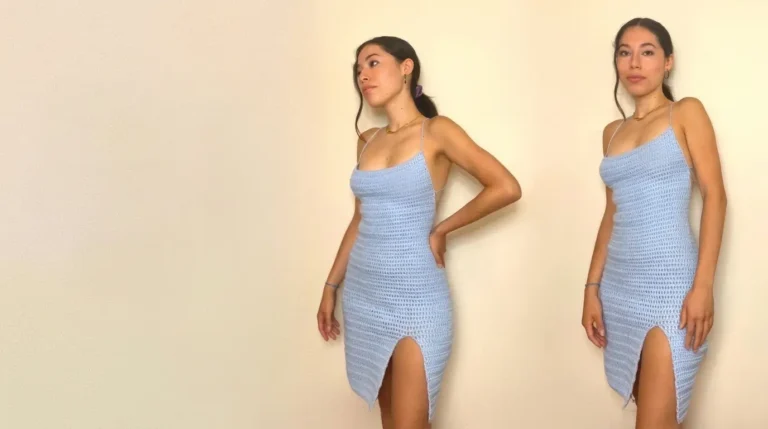
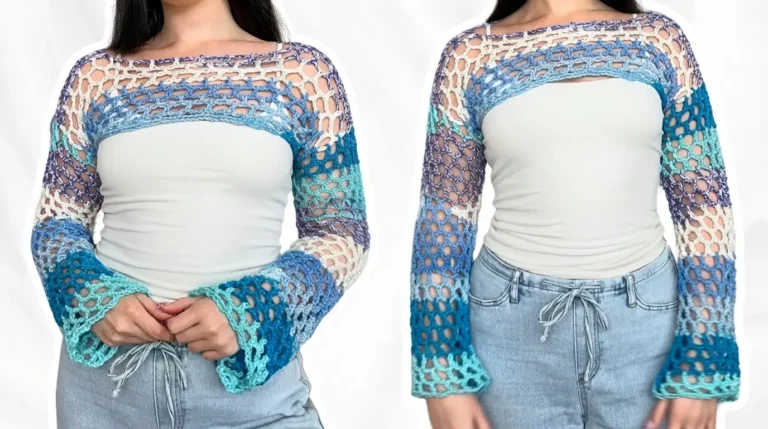
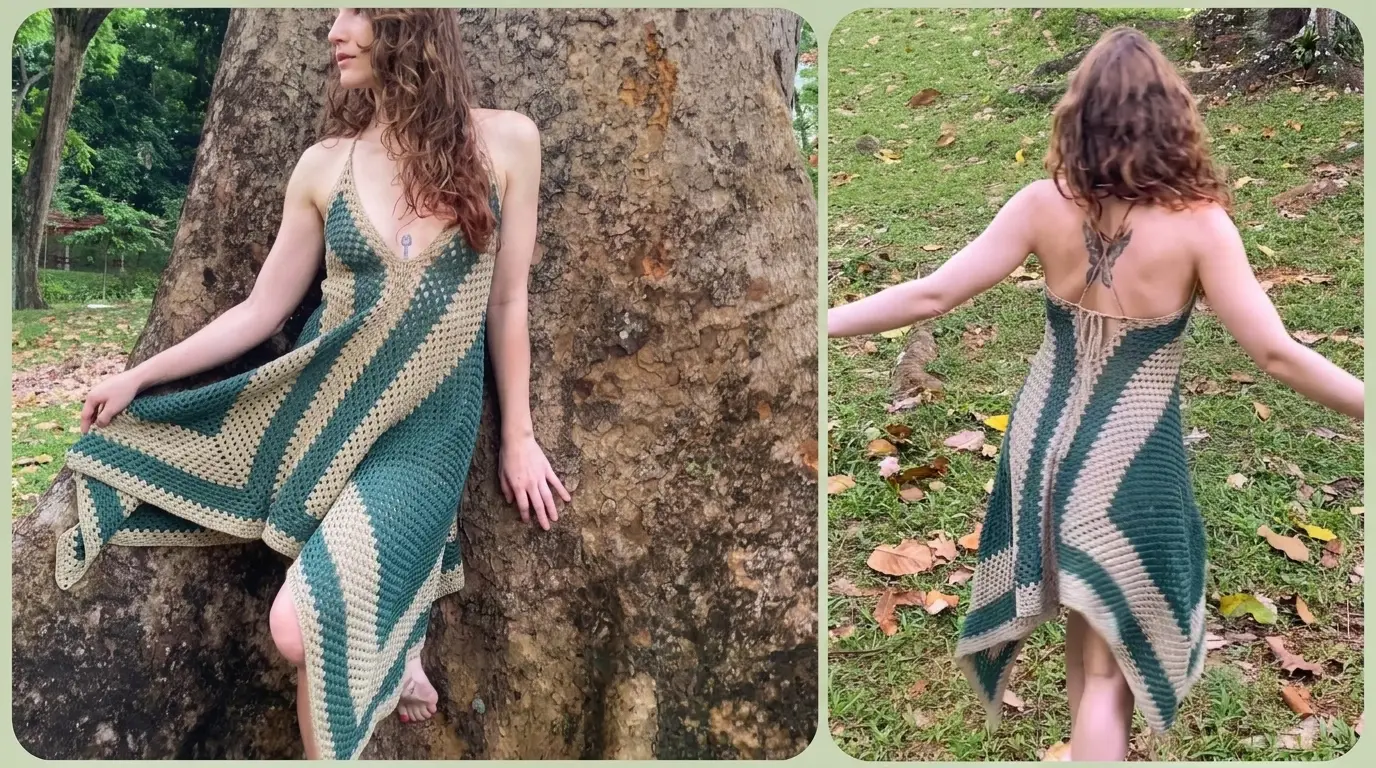
Crochet bodycon dresses offer a wonderful way to express personal style while creating a custom, fitted outfit using classic handmade techniques. Crafting a fairy-inspired bodycon dress from simple geometric shapes is a fun project that lets you play with vibrant color palettes and comfortable textures.
Essential Materials and Tools
Before starting this creative project, gathering the correct supplies will ensure a smooth crafting process. You will need a lightweight cotton blend yarn, which offers a soft feel and excellent breathability for wearable garments. A 3.5-millimeter crochet hook matches well with lightweight yarn, giving the stitches a clean, well-defined structure.
To complete the dress, prepare standard accessories including stitch markers to hold key points in place, a yarn needle for joining sections, and a pair of scissors for trimming ends. Using multiple colors of yarn allows you to create striking contrast, stripes, or two-toned panels across the front and back. Having roughly 800 grams of yarn across your chosen shades ensures you have enough material to work through the main body panels and finish the straps.
Crafting the Foundation Squares
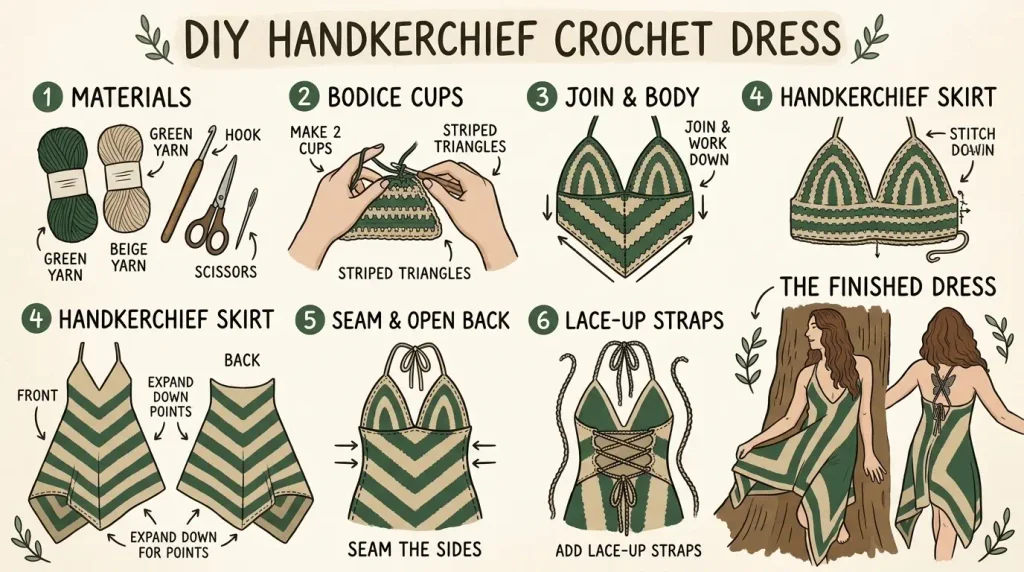
The structure of this dress relies on creating two large granny squares that form the main body sections. Begin by tying a slip knot and chaining four stitches. Connect the last stitch to the first chain with a slip stitch to form a small center loop. From there, chain three to serve as your first double crochet, then place two double crochets into the center ring. Chain three to create a corner space, and follow with three double crochets. Repeat this grouping until you have four distinct corners separated by chain-three spaces, closing the round with a slip stitch into the top of the initial chain-three.
To move to subsequent rounds, slip stitch across to the nearest corner space. In each corner, work a cluster of three double crochets, chain three, and place three more double crochets into the exact same corner gap. As the square expands, work clusters of three double crochets into the open spaces along the sides, reserving the double-cluster pattern exclusively for the four corners. Continuing this repetitive sequence creates a classic granny square pattern that builds outward steadily.
Transitioning Colors and Expanding Size
Swapping shades throughout the project adds depth and character to the design. When you finish a section with one color, fasten off the yarn securely and rotate your square before joining the next shade in a different corner space. Rotating the work prevents uneven tension along the edges and keeps the panel symmetrical. Tie the new color securely into the chosen corner space, pull up a loop, and chain three to begin the next round.
You can add as many color blocks or row changes as desired to customize the pattern. For instance, working a large section of 21 rows in a rich main shade gives a solid foundation, followed by narrower bands of 9 rows, 6 rows, and 3 rows in a complementary tone. As you work through the skeins, measure the panel periodically across the diagonal to track your overall size. A completed square measuring roughly 31 to 32 inches from corner to corner typically provides full coverage for a standard fitted dress.
Fitting and Joining the Front and Back Panels
Once both large squares are fully worked up, position them to transform the flat pieces into a wearable silhouette. Lay the two panels on top of each other with the right sides facing together. Try on or hold up the combined panels to test the overall length, making sure the pointed ends reach your desired hemline. If you prefer a longer fit, simply add a few extra rounds to both squares before assembling.
Next, determine your desired depth for the front V-neckline. Measure down from the top corner to where you want the neckline join to rest, keeping in mind that crocheted fabric has a natural stretch when worn. Mark this spot on both squares using stitch markers, ensuring an equal stitch count on each side from the top corner down to the marker.
To join the front center seam, use the slip stitch on back loop method. Insert your hook through the outer back loops of both corresponding stitches, pull up a loop, and secure with a small knot. Continue making slip stitches through the back loops only all the way to the bottom corner, creating a clean, flat seam. For the back seam, hold the front in place, wrap the side points around your body, and mark the back height you prefer before joining with the same back-loop slip stitch method.
Adding Straps and Neckline Edging
With the main body joined, finish the upper edges and create adjustable straps. Secure your yarn at the mid-back seam and chain one to start. Work a row of single crochet stitches evenly along the upper edge, placing one single crochet in every stitch along the neckline towards the front corner.
When your hook reaches the front corner space of the V-neck, place a single crochet inside the gap and begin chaining to form the shoulder strap. Chain to your preferred length, such as 30 inches, or measure against a tape for exact symmetry. Starting in the second chain from the hook, work single crochets back down the length of the chain. Working into the back ridge loop of each chain stitch yields a neat, cord-like finish. Once back at the main body, place a single crochet into the corner space and continue along the neckline.
At the lowest center point of the V-neck, create a seamless transition by working a decrease stitch. Insert the hook into the stitch before the center seam, draw up a loop, skip over the seam line, insert the hook into the stitch on the opposite side, draw up another loop, yarn over, and pull through all three loops on the hook. Continue single crocheting up to the next corner, construct the second strap using the same chain length, and single crochet back down. Finish by single crocheting along the remaining edge to the back seam, perform another center decrease to pull the sides snug, and slip stitch into the starting stitch.
Useful Tips for Success
Taking small breaks while working on long geometric rounds helps keep your hands rested and maintains consistent stitch tension. Relaxing into the steady rhythm of repeating double crochet clusters turns the project into a soothing creative routine.
Using stitch markers liberally during assembly prevents uneven seams and ensures the front and back V-neck depths line up perfectly. Counting stitches between corner points before joining guarantees that both sides sit symmetrically on the body.
If you desire broader shoulder straps, simply continue working additional rounds of single crochet along the top edge and around the existing straps before fastening off. The added rows increase strap width while reinforcing the entire neckline against stretching over time.
Lacing the finished shoulder straps crisscross through the open double crochet spaces at the back creates an adjustable fit. This lace-up detail allows you to pull the dress tighter or wear it loose depending on your comfort preference.