DIY Crochet Bodycon Dress: Easy Techniques for the Perfect Silhouette
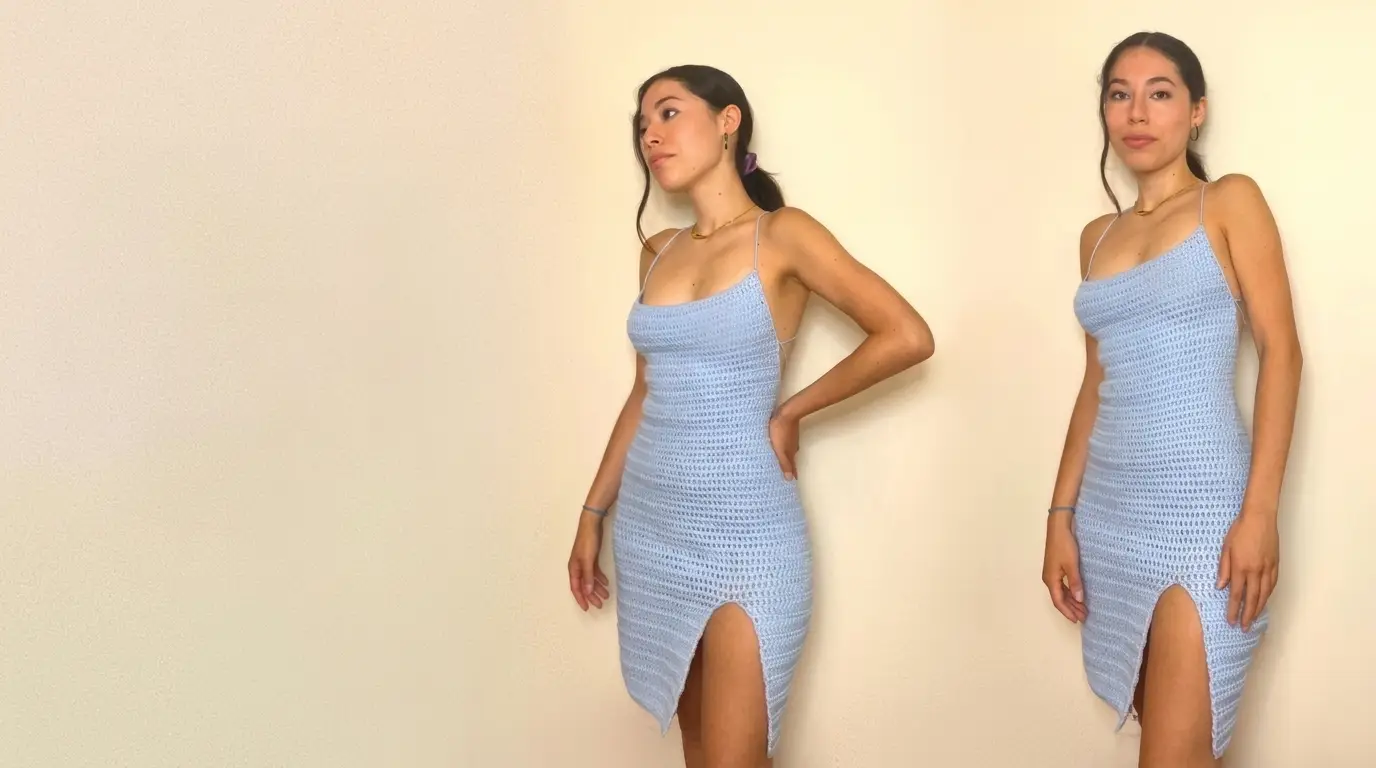
Crafting your own handmade wardrobe brings a unique sense of accomplishment, especially when you create a chic, form-fitting dress that hugs every curve. This lovely light blue crochet bodycon dress features a subtle cowl neckline, delicate spaghetti straps, an open back structure, and a stylish front thigh slit.
Essential Materials and Tools
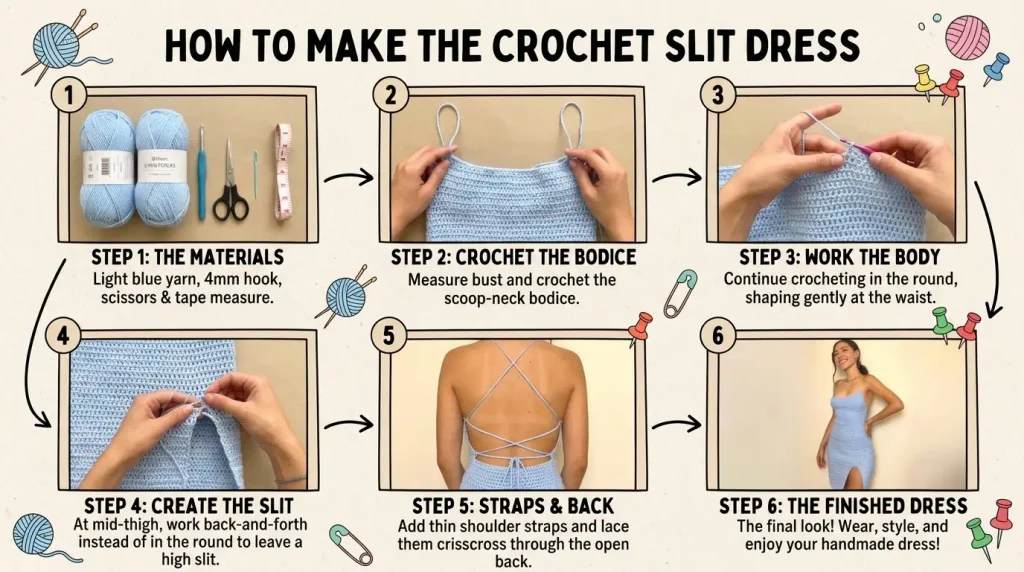
To make this sleek dress, you need a few essential supplies. Lightweight yarn, such as size 3 or light baby yarn, provides the ideal drape and comfortable feel against the skin. Pair this with a 4.0 mm crochet hook to achieve clean, uniform stitches throughout the project. Accurate body measurements are crucial for a bodycon silhouette, so keep a flexible measuring tape close at hand. A pair of sharp scissors and several stitch markers—or simple bobby pins—will help you keep your place and mark key transition points cleanly.
Crafting the Bodice from Top to Waist
The project starts at the top edge of the neckline and works downward toward the waistline. Begin by creating a secure slip knot and chaining until the foundation reaches approximately 13 inches across, which serves as the top neckline section right above the bust.
The main stitch pattern throughout the dress consists of classic double crochets worked back and forth in rows. Turn each row by chaining three, skipping the first three chain loops, and placing double crochets into every stitch across. Continue this flat, straight row repetition for about six inches until the piece sits comfortably right above the narrowest part of your waist.
Shaping the Waist, Hips, and Back Coverage
Once you pass the upper waist area, it is time to shape the dress outward to accommodate the lower back and hips. This expansion is done in two distinct increase phases.
First, begin increasing by placing two double crochets into the very last stitch on both ends of each row. Repeat these edge increases for approximately three inches. Next, accelerate the outward slope to prepare for back coverage by placing three double crochets into both the very first and very last stitch of every row for another two and a half inches.
To form the back connection and prepare for the lower skirt section, create a foundation chain across the back gap—typically around eight inches long depending on your body measurements—and join it to the opposite bottom corner with a slip stitch. Continue working back and forth across this newly joined circle for two inches without any increases to maintain a smooth texture before starting the hip section.
Working the Lower Skirt and Thigh Slit
To contour around the fullest part of the hips, lay the piece flat and mark the outer edges with bobby pins or stitch markers. Increase the width gradually by placing two double crochets into the marked stitch locations on both sides of the garment. Continue expanding for several inches until the dress reaches your desired hip measurement.
To create the front slit, fasten off your yarn and rejoin it at your selected slit position. Instead of working in continuous rounds, work back and forth across the front and back while executing double crochet decreases at the slit edges. Decrease by pulling up loops across two adjacent stitches and finishing them together as one.
Once the dress passes the widest part of your hips, transition from expanding to gentle taper decreases along the side seams. Work two-stitch decreases on the outer sides of every row until the dress reaches your preferred hemline, such as near the knees.
Finishing Edges and Back Straps
To give the back opening a neat finish, attach your yarn near the side seam and work single crochets evenly up the raw side edges. Transition into sleek slip stitches as you approach the top corners of the neckline.
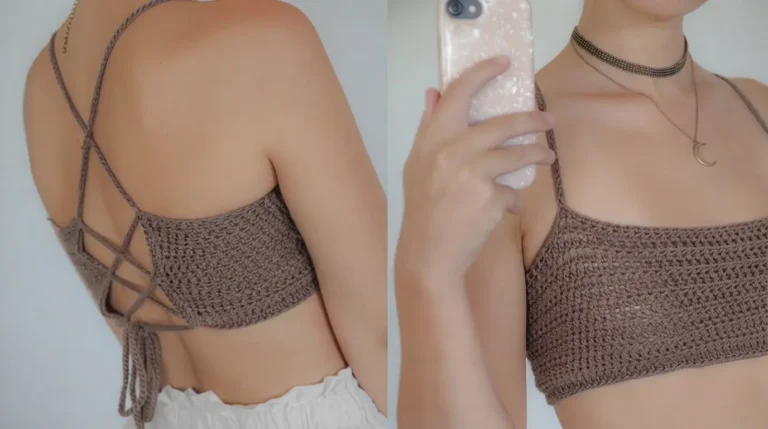
At the top corners, chain long strands—around 67 inches each—to create thin, elegant shoulder straps. Crisscross these long chains across the open back, threading them through the side single crochet loops to create an adjustable, lace-up corset style back that keeps the dress comfortably fitted.
Helpful Crafting Advice
Taking frequent body measurements as you work ensures a custom fit tailored to your unique shape.
When working double crochets into side edges where official chain loops are missing, try to space your stitches as evenly as possible to maintain straight, neat borders.
If you run short on yarn while making long strap chains, it is much easier to make them extra long from the start and unchain any excess length later than to attach new yarn midway through.
Always secure joined ends with double knots and weave the yarn tails neatly into your stitches to give your finished garment a polished, professional look.