Propagating Plants in Water: A Simple Method
Welcome to the rewarding world of indoor gardening. If you want to grow your collection without spending money on expensive gear or messy soil, you have come to the right place.
Propagating plants in water is a fantastic way to expand your greenery with minimal effort. This accessible technique removes the stress of complex mixtures, making it perfect for beginners who want to start their journey with confidence.

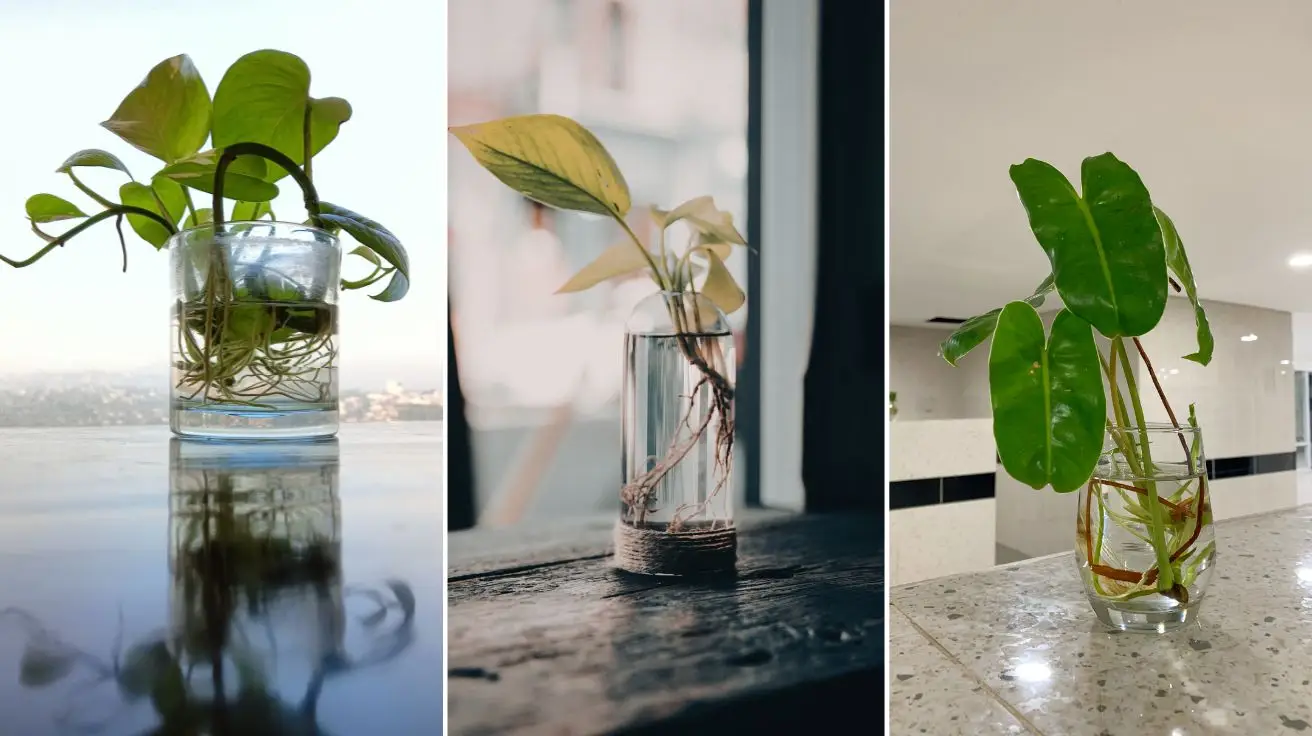
You do not need a green thumb to succeed with this hobby. By simply placing cuttings into a clear vessel, you can watch roots develop right before your eyes. This aquatic plant propagation method offers a clear view of growth, which helps you learn the needs of your botanical friends.
We designed this guide as a complete roadmap for your success. Whether you are a curious novice or a seasoned enthusiast, you will find everything needed to master this simple, effective, and highly satisfying skill today.
Understanding the Basics of Propagating Plants in Water
If you have ever wondered how a simple stem can transform into a new plant, water propagation is the answer. This method allows you to witness the entire life cycle of a plant from the comfort of your home. By propagating plants in water, you gain a front-row seat to the fascinating process of root formation.
Why Water Propagation is Ideal for Beginners
For those new to gardening, this technique is incredibly forgiving and straightforward. You do not need expensive fertilizers or complex soil mixtures to get started. Water propagation provides a clean, mess-free environment that is perfect for indoor spaces.
One of the biggest benefits is the ability to monitor progress visually. You can see exactly when roots begin to emerge, which helps you learn the specific needs of your plants. This immediate feedback loop builds confidence and ensures you know when your cutting is ready for the next step.
The Science Behind Root Development in Aquatic Environments
When a cutting is placed in water, it undergoes a biological shift to survive. The plant stops focusing on leaf growth and redirects its energy toward developing specialized structures called adventitious roots. These roots are highly efficient at absorbing oxygen and nutrients directly from the liquid medium.
Unlike soil-based roots, these aquatic roots are adapted to a high-moisture environment. They possess a different cellular structure that allows them to thrive without the need for soil aeration. Understanding this transition is key to successfully propagating plants in water and ensuring your cuttings remain healthy throughout the process.
By mastering the basics of water propagation, you create a solid foundation for your indoor garden. This scientific approach demystifies the growth process and helps you appreciate the resilience of your favorite houseplants.
Essential Tools and Supplies for Success
Achieving success with plant propagation in water requires more than just a jar and a cutting. By gathering the right equipment, you create an environment where your new plants can thrive without unnecessary stress. A well-prepared setup is the foundation of a healthy indoor garden.

Choosing the Right Glassware and Containers
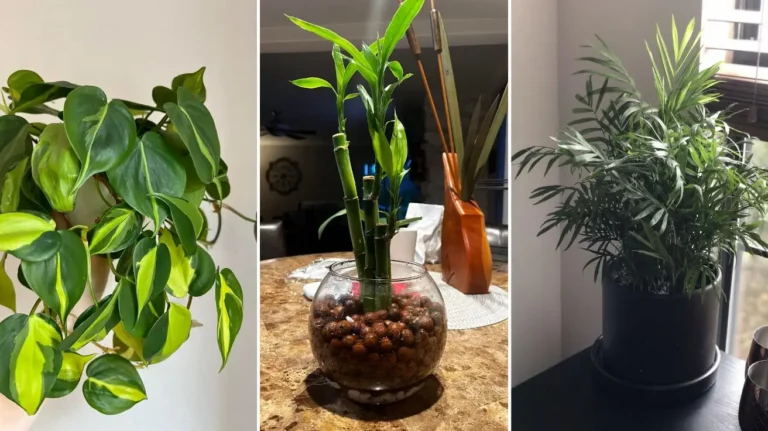
The best containers for water propagation are those that allow you to monitor root growth easily. Clear glass jars, vases, or even recycled bottles work perfectly for this purpose. Transparency is key because it helps you spot potential issues like algae or rot before they become major problems.
Ensure your chosen container has a wide enough opening to accommodate the stem without crushing it. You should also consider the following essential items for your setup:
- Clean glass jars or recycled bottles
- Sharp, sterilized pruning shears
- Distilled or filtered water
- A bright, indirect light source
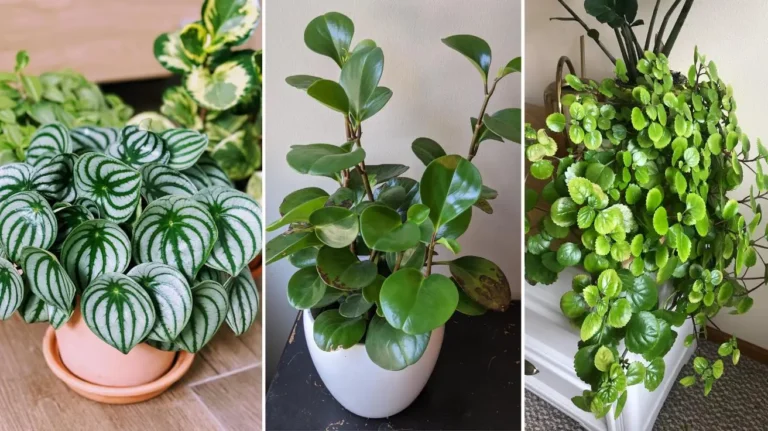
Selecting Healthy Parent Plants for Cuttings
Your success depends heavily on the quality of the parent plant you choose. Always look for a specimen that is vibrant, pest-free, and actively growing. Avoid taking cuttings from plants that show signs of wilting or disease, as these will struggle to develop strong roots.
When you select a stem, ensure it has at least one healthy node. The node is the small bump where leaves emerge and is the primary site for new root development. A healthy parent plant provides the energy reserves needed for the cutting to transition successfully into its new aquatic home.
Water Quality and Temperature Considerations
Water quality plays a significant role in how quickly your cuttings establish themselves. While tap water is often acceptable, it may contain chlorine or minerals that can hinder growth. If your local water is heavily treated, using filtered or distilled water is a safer choice for sensitive species.
Temperature also matters, as most houseplants prefer a stable, room-temperature environment. Keep your propagation station away from cold drafts or direct heat sources like radiators. Maintaining a consistent temperature helps the plant focus its energy on root production rather than temperature regulation.
Preparing Your Plant Cuttings
Mastering the art of cutting preparation is essential for anyone interested in hydroponic plant propagation. Proper preparation acts as the foundation for your success, ensuring that your stems remain healthy as they transition into their new environment.

Identifying the Correct Node Placement
The node is the most critical part of your cutting. This is the small bump or joint on the stem where leaves and branches emerge. Nodes contain the biological hubs necessary for new root growth to begin.
When you take your cutting, always ensure at least one node is submerged in water. If you miss this area, your stem will likely fail to produce roots and may eventually decay.
Sanitizing Your Cutting Tools
Using clean equipment is a non-negotiable step in plant propagation in water. Dirty shears or knives can introduce harmful bacteria and fungi directly into the fresh wound of your cutting.
You should wipe your blades with rubbing alcohol before and after every cut. This simple habit prevents the spread of pathogens that could ruin your entire batch of cuttings.
Removing Excess Foliage to Prevent Rot
It is tempting to keep all the leaves on your cutting, but this often does more harm than good. Excess foliage forces the plant to spend its limited energy maintaining leaves rather than focusing on root development.
Furthermore, leaves that sit below the water line will quickly rot and foul the water. Always trim away any leaves that would be submerged, leaving only a few at the top to support photosynthesis.
Step-by-Step Guide to Water Root Propagation
Mastering the art of hydroponic plant propagation requires attention to detail during the initial setup phase. Once your cuttings are ready, the way you introduce them to their new environment determines their long-term success. By following a structured approach, you provide the best foundation for healthy root development.
Placing Cuttings in Water
When you are ready to begin, fill your chosen container with room-temperature, filtered water. Carefully submerge the stem, ensuring that at least one or two nodes are completely underwater. Nodes are the critical points where new roots will emerge, so they must remain fully hydrated.
Avoid letting any leaves touch the water surface. If foliage sits in the liquid, it will likely decay and contaminate the environment. If your cutting has too many leaves, gently trim the lower ones to ensure a clean fit within the vessel.
Managing Light Exposure for Optimal Growth
Proper lighting is essential for successful water root propagation. Place your containers in a spot that receives bright, indirect sunlight. Avoid harsh, direct sun, as this can overheat the water and encourage rapid algae growth.
If you notice your cuttings are stretching or looking pale, they may need slightly more light. Conversely, if the water turns green quickly, move the jar to a slightly shadier location. Consistent, soft light helps the plant focus its energy on growing strong roots rather than fighting environmental stress.
Maintaining Water Freshness and Oxygen Levels
Water quality is a vital component of the process. You should refresh the water at least once a week to ensure the plant has access to fresh oxygen. Stagnant water can lead to bacterial growth, which is harmful to delicate new roots.
If the water appears cloudy, change it immediately to keep the environment hospitable. Using a clear glass container allows you to monitor the water clarity and root health easily. Keeping the water clean is the simplest way to ensure your cuttings thrive.
| Plant Type | Light Requirement | Water Change Frequency |
|---|---|---|
| Tropical Vines | Bright Indirect | Every 5-7 Days |
| Succulents | Bright Filtered | Every 10-14 Days |
| Herbs | Full Morning Sun | Every 3-5 Days |
Troubleshooting Common Propagation Challenges
Even the most seasoned plant lovers occasionally face hurdles when growing plants in water. While the process is generally straightforward, environmental factors can sometimes disrupt your progress. Staying proactive allows you to catch issues early and save your cuttings before they suffer permanent damage.
Dealing with Algae Growth in Your Jars
Algae often appears as a green, slimy film inside your glass containers. While it is not always fatal to your plant, it competes for nutrients and oxygen. To keep your water clear, try using opaque containers or placing your jars away from direct sunlight.
- Change the water weekly to remove spores.
- Scrub the container thoroughly with mild soap.
- Use amber or colored glass to block light.
Identifying and Preventing Stem Rot
Stem rot is a common issue during water root propagation that usually stems from bacterial growth. You can identify it by a mushy texture or a foul smell coming from the submerged part of the stem. If you notice these signs, trim the affected area immediately and place the cutting in fresh, clean water.
Prevention is key to maintaining healthy cuttings. Always ensure that no leaves are touching the water, as decaying foliage is the primary cause of bacterial buildup. Keeping your tools sanitized before every cut also significantly reduces the risk of infection.
What to Do When Roots Stop Growing
Sometimes, you might notice that your plant has stopped developing new roots entirely. This often happens when the water temperature is too cold or the plant is not receiving enough indirect light. Adjusting these environmental variables is usually enough to jumpstart the growth process again.
| Issue | Primary Cause | Quick Fix |
|---|---|---|
| Algae Bloom | Excessive Light | Move to shade |
| Stem Rot | Submerged Leaves | Trim and refresh |
| Stalled Roots | Low Temperature | Find a warmer spot |
By monitoring your growing plants in water regularly, you can ensure they stay healthy and vibrant. Remember that patience is essential, as some species take longer to establish roots than others. With these simple troubleshooting steps, you can confidently manage any challenges that arise.
Transitioning Water-Rooted Plants to Soil
Moving your cuttings from a glass jar into a permanent pot is an exciting milestone for any indoor gardener. While growing plants in water is a fantastic way to start your collection, they eventually need the nutrient-rich environment that only soil can provide.
Knowing When Your Roots Are Ready for Potting
Patience is the most important factor when moving your cuttings. You should wait until the roots are at least two to three inches long before attempting a transfer.
Look for the development of secondary roots, which are the smaller, hair-like branches growing off the main roots. These structures are essential for absorbing nutrients from the soil once you make the switch.
Choosing the Right Potting Mix for Transitioning
When you move water rooting plants to a new home, the soil must be light and airy. A heavy, dense potting mix can suffocate delicate aquatic roots and lead to immediate decay.
We recommend using a high-quality indoor potting mix amended with extra drainage materials. Consider these additions to create the perfect environment:
- Perlite: Improves aeration and prevents soil compaction.
- Orchid Bark: Adds structure and helps with drainage.
- Coco Coir: Retains moisture without becoming waterlogged.
Acclimating Your New Plant to Soil Conditions
The transition from a purely aquatic environment to soil can cause transplant shock if done too quickly. You must help your plant adjust to its new surroundings by keeping the soil consistently moist for the first two weeks.
Think of this as a gradual weaning process. By keeping the soil damp, you mimic the water environment while allowing the roots to slowly adapt to the texture of the potting mix.
As the plant stabilizes, you can slowly reduce the frequency of watering. This careful approach ensures that your water rooting plants thrive long after they leave their glass containers.
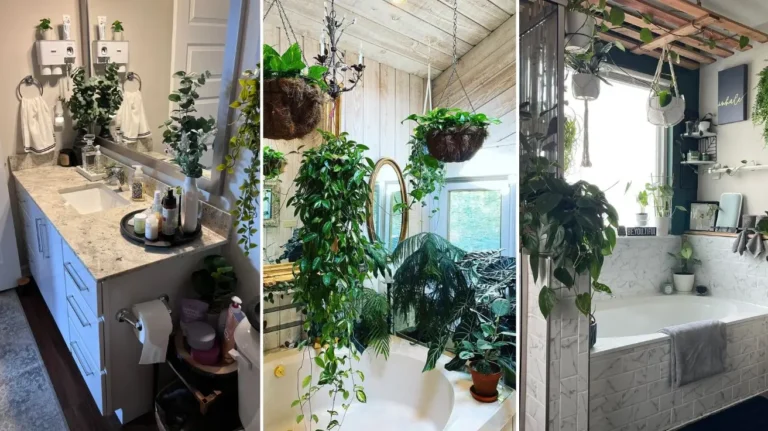
Enjoying Your Thriving Indoor Jungle
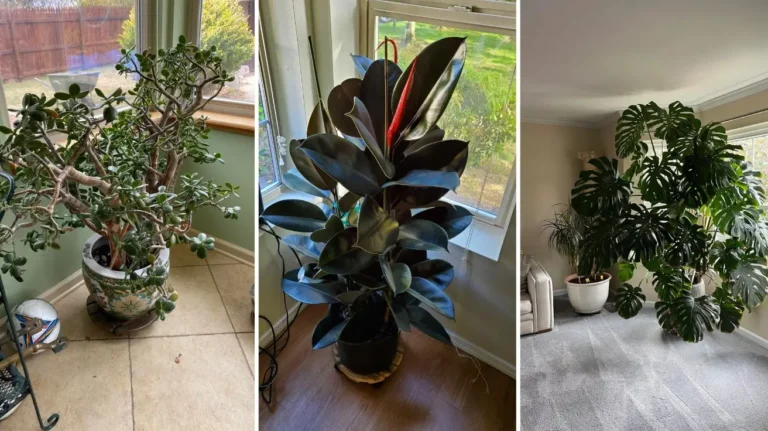
Watching your home transform into a lush sanctuary brings a unique sense of accomplishment. Mastering water rooting plants allows you to multiply your favorite greenery without the need for expensive nursery stock.
This simple approach to water-based plant propagation turns every glass jar into a vessel for new life. You now possess the skills to nurture cuttings from a Pothos or a Monstera into healthy, independent specimens.
Consistency remains the secret to long-term success with your indoor collection. Regular checks on water clarity and light levels ensure your botanical friends stay vibrant throughout the seasons.
Engaging in aquatic plant propagation offers a peaceful way to connect with nature inside your living room. Each new leaf serves as a reminder of the patience and care you invested in the process.
Feel free to experiment with different species to see which ones thrive best in your specific home environment. Your journey into indoor gardening grows more rewarding as you expand your green space one cutting at a time.