How to Make a Adorable Crochet Baby Hat
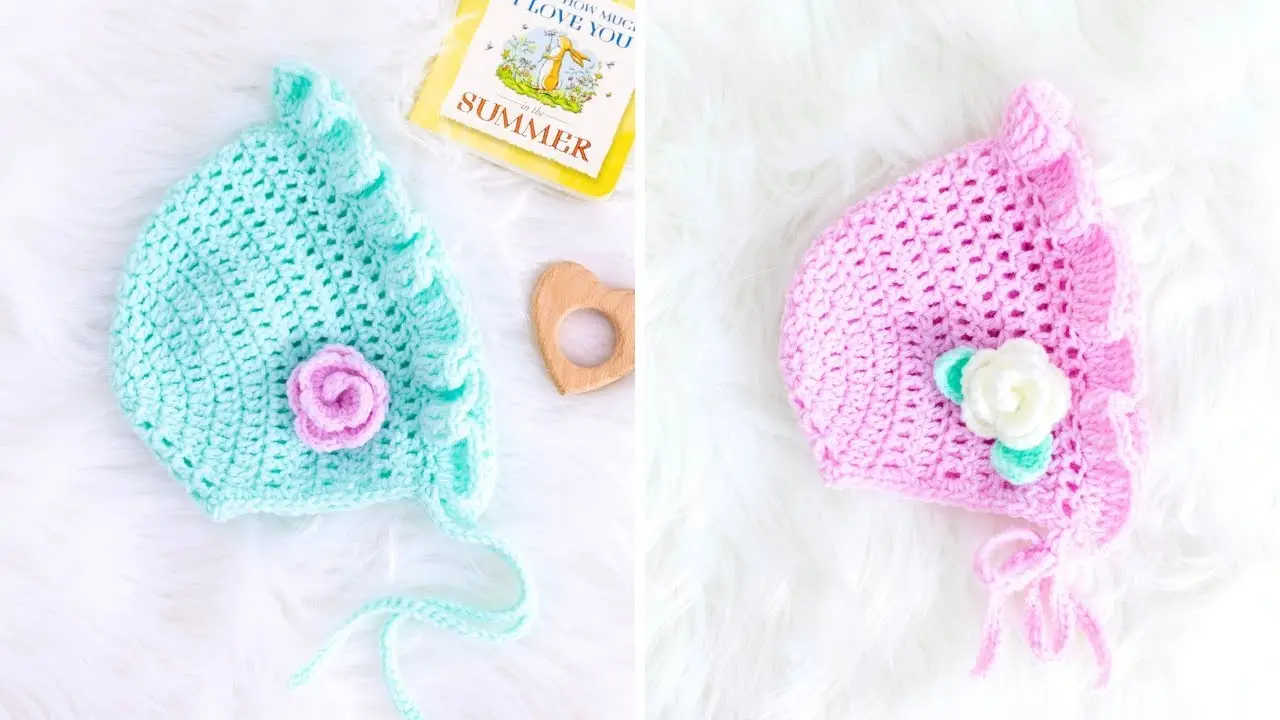
Create a handmade keepsake for a newborn using a light category three double knit yarn and a four millimeter crochet hook to stitch a cozy, charming baby bonnet.
Materials Needed
To get started on this lovely project, you will need very basic supplies. Gather a light category three double knit yarn, which gives the bonnet a soft and lightweight feel perfect for a baby. You will also need a size G, which is a four millimeter crochet hook. Having a pair of scissors and a yarn needle for weaving in ends will also make your crafting process smooth and easy.
Making the Crown of the Bonnet
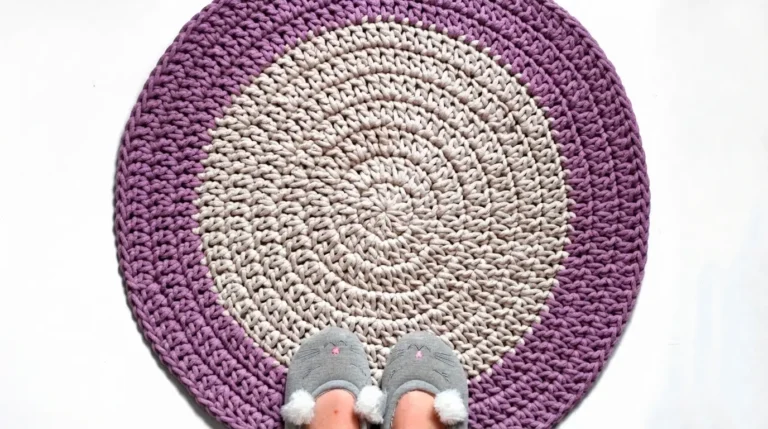
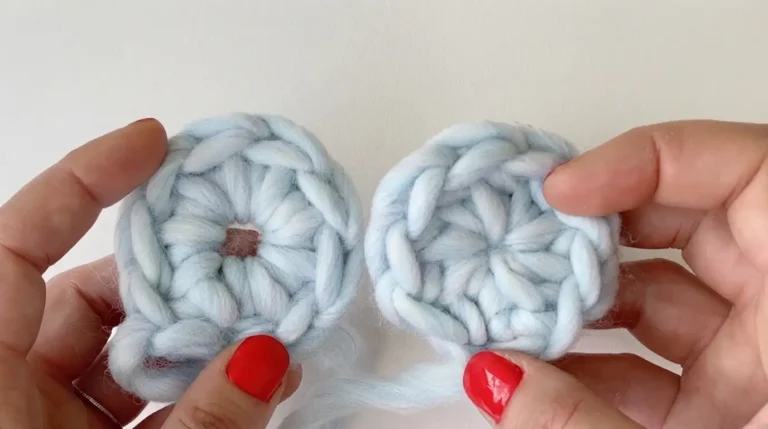
The crown forms the circular top portion of the bonnet and is worked in continuous rounds. To begin, make a magic circle and chain two, which will count as your first double crochet. Work nine double crochet stitches into the magic circle, then slip stitch into the top of the chain two to join, and pull the tail to close the center securely. For the second round, chain two to count as your first double crochet, and work one more double crochet into the exact same stitch. Continue working two double crochet stitches into each stitch all the way around, ending with twenty stitches total before slip stitching to join.
For the third round, chain two, work one double crochet in the same stitch, and then work one double crochet in the next stitch. From there, repeat the pattern of working two double crochet stitches into the next stitch, followed by one double crochet in the following stitch, giving you thirty stitches by the end. For the fourth round, chain two, work one double crochet in the same stitch, and then work one double crochet in each of the next two stitches. Your main repeat for this round will be two double crochet stitches in the next stitch, followed by one double crochet in each of the next two stitches, bringing your total to forty stitches. At this point, your flat circle should measure about three and a half inches across in diameter.
Shaping the Body of the Bonnet
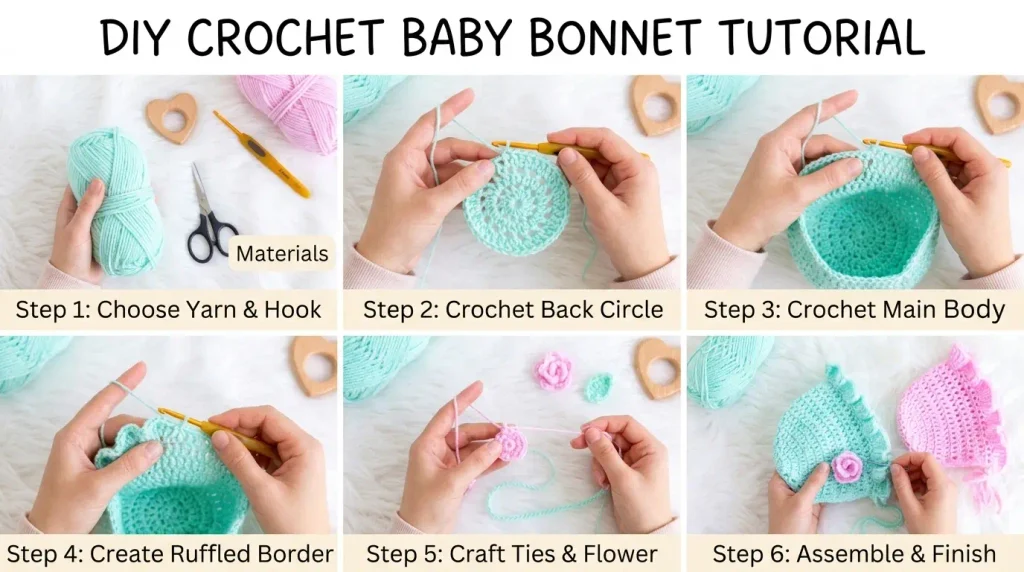
Once the crown is complete, you will shift from working in rounds to working back and forth in rows. For the first row of the body, chain two, but note that this chain two does not count as a double crochet stitch. Work one double crochet into the same stitch, and then continue working one double crochet into each of the next thirty-seven stitches for a total of thirty-eight stitches. For rows two through eight, you will simply repeat this exact same row by chaining two, turning your work, making a double crochet in the same stitch, and working across the remaining stitches. Completing these eight rows builds up the depth and structure of the little bonnet.
Adding the Ruffled Edging
The final row of the bonnet features a lovely, playful ruffled edge that frames the baby’s face. To begin this row, chain three and turn your work, then work a treble crochet into the very same stitch. Your main repeat for this decorative edge is to work three treble crochet stitches into each stitch all the way along the row. When you reach the very last stitch, work two treble crochet stitches into it to finish off the edge neatly. Cut your yarn, fasten off securely, and use your needle to weave in any loose ends.
Creating the Ties and Neck Edging
To ensure the bonnet stays comfortably in place, you will add a clean neck edging and sturdy braided ties. Flip your bonnet so the opening faces upward, and attach your yarn with a slip stitch at the bottom corner of the last row. Chain forty-two, then turn and work one slip stitch into the second chain from the hook and all the way back down the chain to form the first tie.
Secure the bottom of the tie with a single crochet where you attached the yarn, then work single crochet stitches evenly along the entire neck edge, placing about two single crochets at the end of each double crochet row. When you reach the opposite corner, repeat the exact same process by chaining forty-two and slip stitching down to create the second matching tie. Finally, slip stitch into the base row, cut your yarn, fasten off, and weave in all remaining ends to complete your gorgeous handmade bonnet.
When working with light category three yarn, keep your tension relaxed and consistent so the fabric remains stretchy, breathable, and gentle against a newborn’s sensitive skin.
Counting your stitches at the end of every round and row prevents accidental increases or decreases, ensuring your bonnet maintains its proper shape and uniform sizing from start to finish.
Weaving in your yarn tails securely as you go along saves you time at the end and keeps your finished project looking neat, professional, and safe for everyday baby wear.