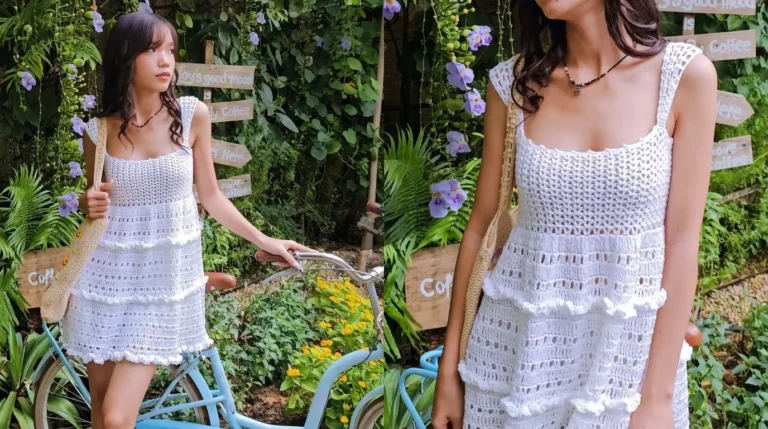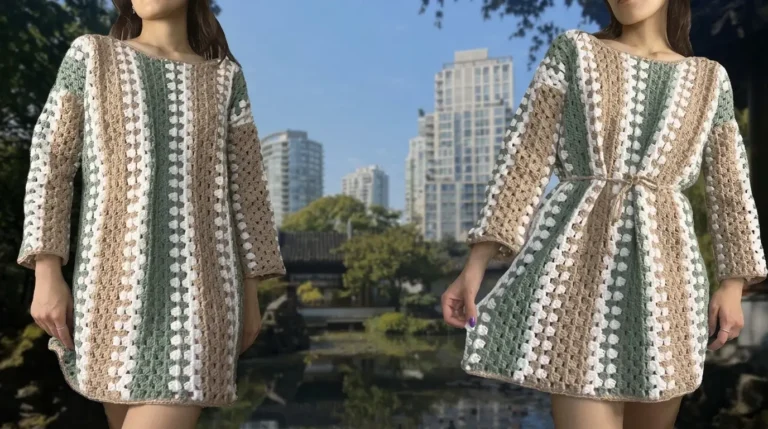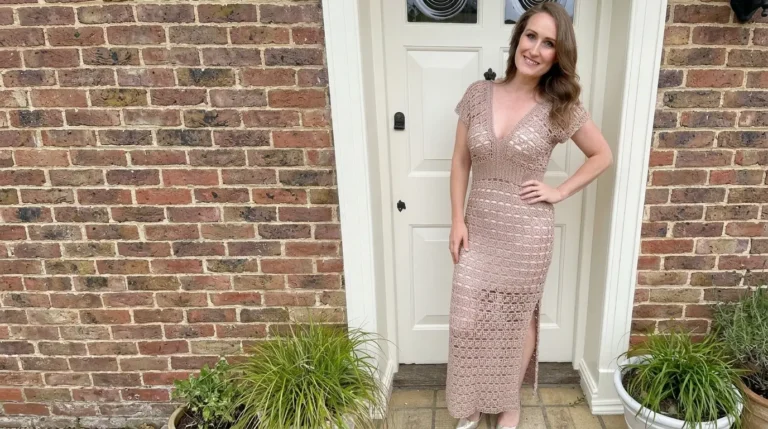
Crafting a Beautiful Handmade Crochet Lace Dress
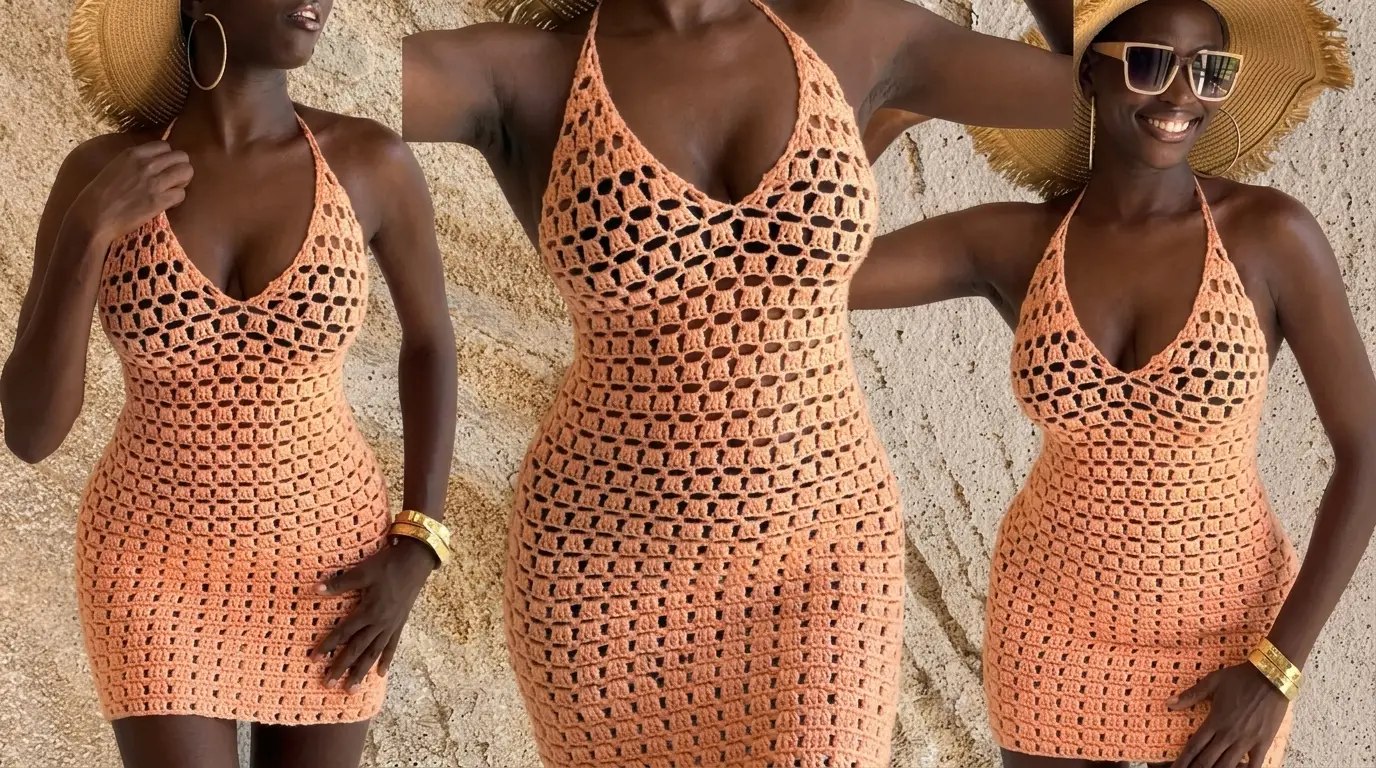
The crochet lace dress is a timeless resort-wear staple featuring a breezy open-work mesh texture, flattering halter neck cups, and a fitted silhouette. Perfect as a sun-drenched beach cover-up or a chic summer outing piece, this garment blends lightweight comfort with handmade elegance.
Essential Materials and Tools
Creating a high-quality crochet garment begins with choosing the right fiber and tools. Soft acrylic yarns work wonderfully for this project, as they offer gentle skin contact while maintaining excellent stitch definition and durability. A 4.0 mm crochet hook gives the perfect tension for loose, airy lace panels without losing structure.
Alongside your primary yarn, keep essential accessories nearby. You will need a standard tape measure to verify bust and hip measurements accurately throughout the process. A sharp pair of craft scissors and a sturdy tapestry needle are required for finishing edges and weaving in stray ends seamlessly.
Understanding the Foundation Pattern
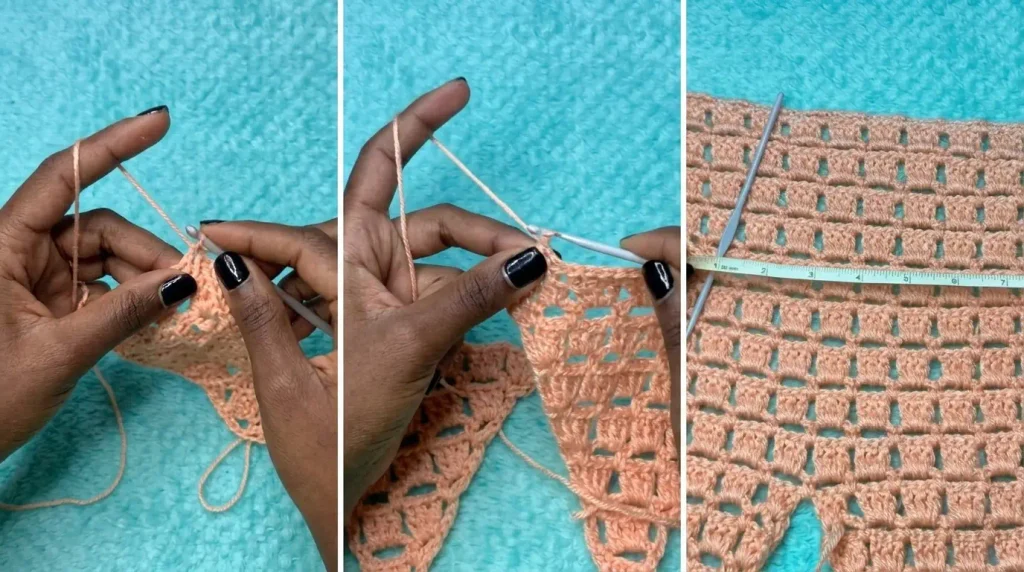
The base motif relies on an alternating two-row sequence that expands outward to create a delicate lace texture. Odd-numbered rows consist of expansive chain-five mesh loops, while even-numbered rows contain dense clusters of three double crochets separated by single chain spaces. This balance creates a flexible, breathable fabric.
To start the initial top section, work nine initial chains and place a double crochet into the very first chain made. This forms a foundational V-shape, establishing the apex from which the triangular panel expands downward.
Constructing and Growing the Triangular Cups
Each top cup grows row by row from top to bottom. Even rows begin with four chains to count as a double crochet and a chain space, followed by three double crochets inside the opening. As you continue down, cluster counts increase evenly by two across each even row, expanding the lower edge steadily.
Odd rows maintain the open geometry of the lace. They begin with five chains and use single crochets anchored into each chain space to lock the arching loops in place. Ending these rows with a chain-two and double crochet combination maintains uniform height across both outer borders.
Custom Sizing and Precision Measurement
Custom fit is crucial for a flattering silhouette. Measure the fullest point of the bust and divide that number in half to calculate the front coverage width. Divide that half value once more to find the exact target width required for the base of a single triangular cup.
Continue building the two-row repeat until the base of your triangle matches your calculated cup width. Stop building the individual triangle on an odd-numbered loop row to prepare the piece for seamless joining.
Joining the Front Cups Seamlessly
Once two identical triangular cups are finished, they are united across a single long even row. Working across the bottom edges, lay the pieces so that directional seams face inward toward the wrong side of the garment.
To refine fit and avoid excess flaring, overlap the outer edges slightly when working the joining double crochet clusters. Work three double crochets through both aligned loop layers simultaneously, binding the center seam while maintaining a smooth front profile.
Expanding the Torso to Hip Width
After unifying the front cups, expand the body outward to accommodate lower body curves. Continue the core two-row repeat across the full combined width, expanding outer ends with extra cluster groups on every even row.
Keep repeating this process until the total width across the lower edge matches your full hip measurement. As you work downward, take note of which specific row aligns with your natural upper waistline, as this milestone will guide back shaping later.
Transitioning to Circular Seamless Rounds
When the panel reaches full hip width, close the fabric into a continuous circle. Overlap the two side edges carefully on the wrong side and slip stitch across the matching loop spaces to lock the join.
From this point down, work in continuous rounds, alternating the work direction on every turn to keep your pattern vertical and prevent bias twisting. Work loop rows on the inside surface and cluster rows along the outside surface to maintain crisp stitch definition throughout the skirt section.
Waist Line Shaping and Finishing Details
To pull in the back waistline for an hourglass fit, fold the garment inside out. Locate your previously noted waistline row height along the sides. Using short single crochet stitches, join the side edges upward toward the waistline mark to close deep back openings cleanly.
Finally, attach long crochet chains to the top points of each triangular cup to create halter neck ties. Weave in all loose yarn ends using your tapestry needle to secure your handmade lace dress.
Expert Tips for Crafting Success
Choosing a soft, high-flexibility yarn ensures that open lace stitches drape smoothly over body curves without feeling stiff or itchy.
Taking accurate body measurements before starting guarantees that your cups and lower skirt panels fit seamlessly without pooling or stretching tight.
Checking stitch tension regularly keeps all chain-five loops uniform across the entire garment, preserving the geometric look of the pattern.
Flipping your work after every completed round preserves symmetry and prevents the stitch columns from slanting as the skirt grows in length.
Blocking the finished crochet dress with light steam opens up the lace stitches, maximizing drape and enhancing overall fit.