Magic Circle Crochet: A Simple Step-by-Step Guide for Beginners
A magic circle crochet technique is a simple way to start projects that need a round shape without leaving a large hole in the middle. It is perfect for making flowers, granny squares, amigurumi, hats, coasters, and other beautiful crochet creations.
What Is a Magic Circle in Crochet?
A magic circle, also called a magic ring or adjustable ring, is a crochet technique used to begin working in the round. Instead of starting with a chain and joining it into a circle, you create an adjustable loop with your yarn and work your first stitches directly into it.
The best part is that you can pull the yarn tail to close the center tightly. This gives your crochet project a neat and clean finish without leaving an unwanted opening in the middle.
Magic circles are especially useful for projects that begin at the center and grow outward. They are also a great choice for stuffed crochet toys because a tightly closed center helps prevent stuffing from showing through.
Materials Needed for Magic Circle Crochet
You do not need many supplies to learn this technique. A few basic crochet materials are enough to get started.
Yarn: Choose a yarn that is easy to work with. Medium-weight acrylic or cotton yarn is a good option for beginners. You can also use chunky yarn to create larger, thicker crochet circles.
Crochet Hook: Select a hook that matches your yarn. Check the yarn label for the recommended hook size. If your stitches are too loose, try a slightly smaller hook.
Scissors: You will need scissors to cut the yarn after finishing your crochet work.
Yarn Needle: A yarn needle helps you weave in the loose yarn tail and secure your finished circle.
Stitch Marker: This is optional, but it can help you identify the beginning of each round, especially when working in continuous rounds.
Basic Crochet Stitches Used in a Magic Circle
Before starting, it is helpful to understand a few basic crochet stitches. The magic circle itself is not a stitch. It is simply a starting technique that holds your first round of stitches.
Chain Stitch (CH): This stitch is often used to bring the yarn to the correct height before working the next stitches.
Single Crochet (SC): This is a short and simple stitch commonly used for amigurumi and small crochet projects.
Half Double Crochet (HDC): This stitch is slightly taller than a single crochet and creates a soft, textured fabric.
Double Crochet (DC): This taller stitch is often used for granny squares, flowers, blankets, and decorative crochet circles.
You do not need to master every stitch before learning the magic circle. Start with single crochet or double crochet and practise until you feel comfortable.
How to Make a Magic Circle Crochet Step by Step
Learning how to make a magic circle may feel a little tricky at first, especially when handling the yarn and crochet hook together. However, once you understand how the adjustable loop works, the process becomes much easier.
For this beginner-friendly tutorial, we will create a simple circle using single crochet stitches.
Step 1: Prepare Your Yarn
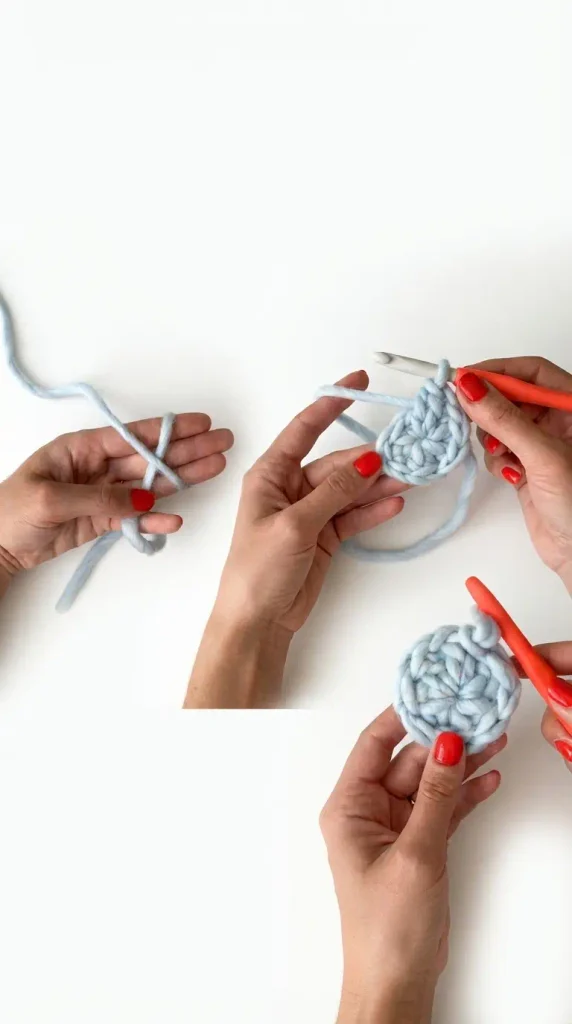
Start by choosing your yarn and crochet hook. Leave a yarn tail that is around 5 to 6 inches long. You will use this tail later to close the center of your circle.
Hold the working yarn in one hand and make sure it is not twisted or tangled. The working yarn is the strand connected to the ball, while the yarn tail is the loose end.
A comfortable yarn position makes the process easier. Do not pull the yarn too tightly while preparing the loop.
Step 2: Make the First Loop
Take the yarn and wrap it around two fingers to create a loose loop. Cross the working yarn over the yarn tail so that the strands overlap.
You should now have a loop with a small crossing point. Keep the crossing point in place using your fingers.
Make sure the yarn tail is long enough to hold comfortably. This will help you close the circle later.
Step 3: Insert the Crochet Hook
Hold the loop carefully and insert your crochet hook underneath the first strand of yarn.
Catch the working yarn with your hook and pull it through the loop. You should now have a loop of yarn on your crochet hook.
Keep the larger adjustable ring open. Do not pull it closed at this stage.
Step 4: Make a Chain Stitch
Now, yarn over your crochet hook and pull the yarn through the loop already on your hook.
This creates one chain stitch. The chain helps secure the working loop before you begin making your first round.
For single crochet, one chain is usually enough. If you are using double crochet, you may need a starting chain of two or three, depending on your pattern and preferred method.
Remember that the starting chain is not usually counted as a stitch when making a basic single crochet magic ring.
Step 5: Work Your First Crochet Stitches
Insert your hook into the large adjustable ring, making sure to work around both the ring and the yarn tail.
Yarn over and pull up a loop. You will have two loops on your hook.
Yarn over again and pull through both loops. This completes one single crochet stitch.
Continue working single crochet stitches into the same ring. For this beginner practice circle, make six single crochet stitches.
Keep the stitches close together but avoid pulling them too tightly. You need enough space to insert your hook comfortably into the ring.
Step 6: Find the Yarn Tail
Once you have completed your first round of stitches, locate the loose yarn tail.
Hold the stitches gently with one hand and pull the yarn tail with the other hand.
You will notice that the adjustable ring becomes smaller as the yarn moves through the stitches.
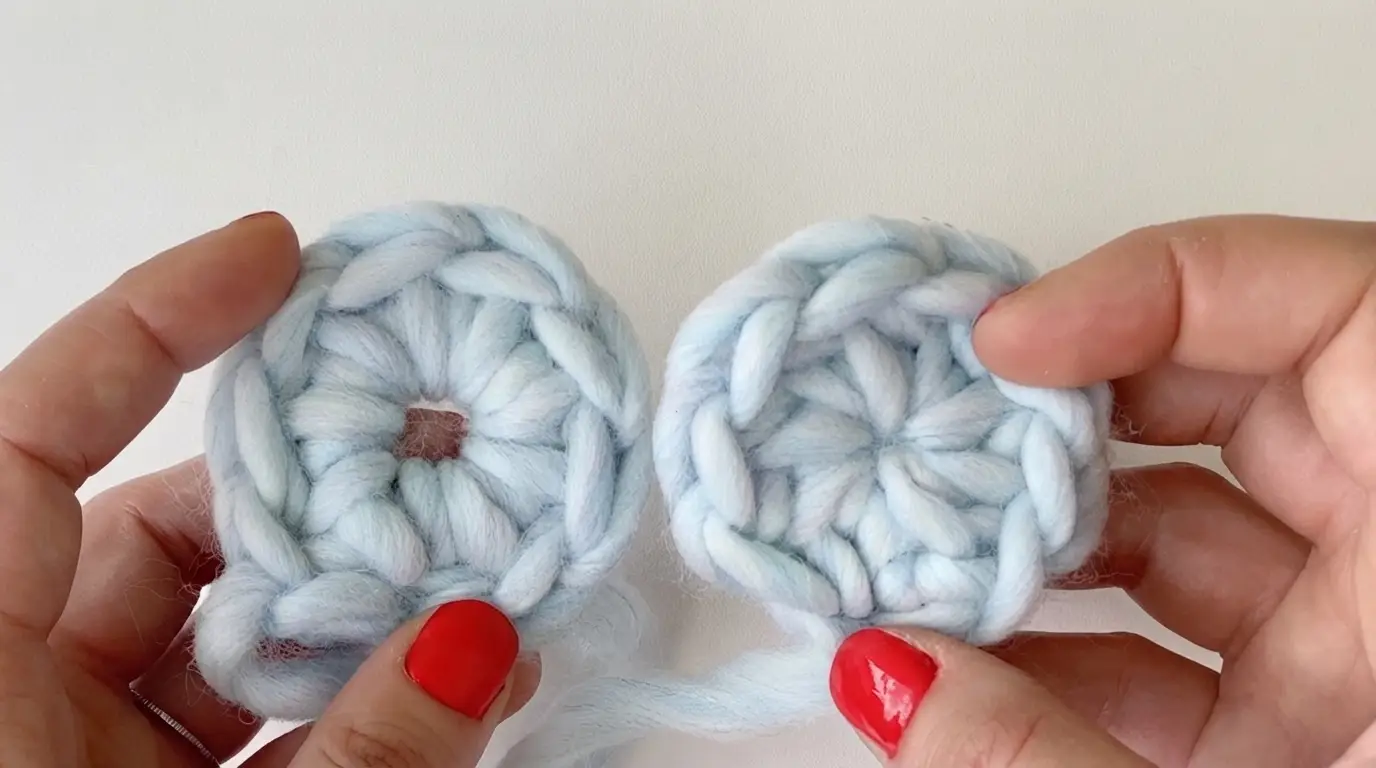
Continue pulling until the opening in the middle is closed. This is the main advantage of using a magic circle instead of a regular chain ring.
Step 7: Join or Continue Your Crochet Work
If your pattern is worked in joined rounds, insert your hook into the first stitch of the round and make a slip stitch to join.
If your pattern is worked in continuous rounds, do not join with a slip stitch. Simply begin the next stitch in the appropriate place and use a stitch marker to track the beginning of each round.
For a flat crochet circle, you will usually need to increase the number of stitches in later rounds. For amigurumi, the increases and decreases depend on the shape you want to create.
Step 8: Secure the Center
After closing the circle, gently check the center to make sure there is no unwanted opening.
Once you are happy with the result, weave the yarn tail through the stitches on the back of your work using a yarn needle.
For projects that will be stuffed or handled frequently, weave the tail securely through several stitches. You can also change direction and weave through a few stitches again to help prevent the center from opening.
Your magic circle crochet foundation is now ready!
How to Make a Magic Circle With Double Crochet
The same adjustable ring technique can be used for double crochet projects. The only difference is the stitch you work into the ring.
First, create your magic ring and make the starting chain required by your pattern. Yarn over, insert your hook into the ring, and pull up a loop.
Yarn over and pull through the first two loops. Yarn over again and pull through the remaining two loops.
This completes one double crochet stitch.
Continue working the required number of double crochet stitches into the ring. When you finish the first round, pull the yarn tail to close the center.
Double crochet is commonly used when making decorative flowers, granny squares, and larger crochet motifs. Always follow the stitch count given in your pattern because different designs may use different numbers of starting stitches.
How to Make a Magic Circle With Chunky Yarn
Chunky yarn is a lovely choice for making thick, soft crochet circles. It creates a bold texture and makes each stitch easy to see.
When using thick yarn, you may find that wrapping it around two fingers feels uncomfortable. Instead, wrap the yarn around three fingers or use your hand to create a larger adjustable loop.
Choose a crochet hook suitable for the yarn thickness. Insert the hook carefully into the loop and work your stitches without squeezing them too tightly.
Chunky yarn can be less flexible than thinner yarn, so closing the circle may require a little extra patience. Pull the yarn tail slowly and guide the stitches with your fingers to help them move together.
If the yarn starts to separate or fray, avoid pulling too hard. A gentle and steady movement is better than forcing the center closed.
Common Mistakes to Avoid When Making a Magic Circle
One common mistake is twisting the yarn loop before working the first stitches. A twisted loop can make it difficult to close the center properly. Always check the position of your yarn before inserting the hook.
Another mistake is crocheting around only one strand of the ring instead of working around both the ring and the yarn tail. The stitches need to hold the tail so that pulling it closes the circle.
Some beginners also pull the working yarn too tightly while making the first stitches. This can make it difficult to insert the hook into the ring. Keep your stitches relaxed until the circle is ready to close.
Do not forget to weave in the yarn tail after finishing. Even if the center looks tightly closed, securing the tail helps prevent it from loosening during use.
Helpful Tips for a Perfect Magic Circle
Practise With Smooth Yarn: Smooth acrylic or cotton yarn is easier to handle when learning. Very fluffy or textured yarn can hide the stitches and make it difficult to see where your hook should go.
Keep the Loop Open: Do not close the adjustable ring before completing the first round. You need enough space to work all your stitches comfortably.
Use a Stitch Marker: When working in continuous rounds, place a stitch marker in the first stitch of each round. This helps you keep track of your stitch count.
Pull the Tail Slowly: A quick, strong pull can stretch or damage delicate yarn. Close the center with a steady movement instead.
Check Your Stitch Count: Count your stitches before moving to the next round. This helps keep your crochet circle even and prevents unwanted shaping problems.
Practice With Different Yarn: Once you understand the basic technique, try it with cotton, acrylic, and chunky yarn. Each type feels a little different, and practising will improve your control.
How to Fix a Magic Circle That Will Not Close
Sometimes, you may pull the yarn tail but notice that the center does not close completely. This usually happens because the stitches were not worked around the yarn tail correctly, or the yarn has become twisted.
First, check whether the tail moves when you pull it. If it does not move, gently loosen the stitches and see whether the yarn is caught.
If the tail has been trapped or the yarn has split, it may be easier to undo the first round and start again.
When using textured or chunky yarn, the fibers can sometimes catch against each other. Move the stitches gently with your fingers while pulling the tail.
If you have already finished the project and the center still has a tiny opening, you can use a yarn needle and the remaining tail to close the gap carefully. Weave through the center stitches and pull gently to bring them together.
Magic Circle Crochet vs. Chain Ring
Both methods are useful for starting crochet projects in the round, but they create slightly different results.
A magic circle is adjustable, allowing you to close the center after completing your first round. This makes it a good option for projects where a closed center is important.
A chain ring is made by creating a short chain and joining it with a slip stitch to form a circle. You then work your first round of stitches into the center of that chain ring.
A chain ring is often easier for beginners who find the magic circle difficult. However, it can leave a small opening in the middle that cannot be tightened in the same way.
Choose the method that works best for your project. If your pattern specifically asks for a magic ring, the adjustable method is usually the better choice.
Projects You Can Make With a Magic Circle
Once you learn this technique, you can use it for many beautiful crochet projects.
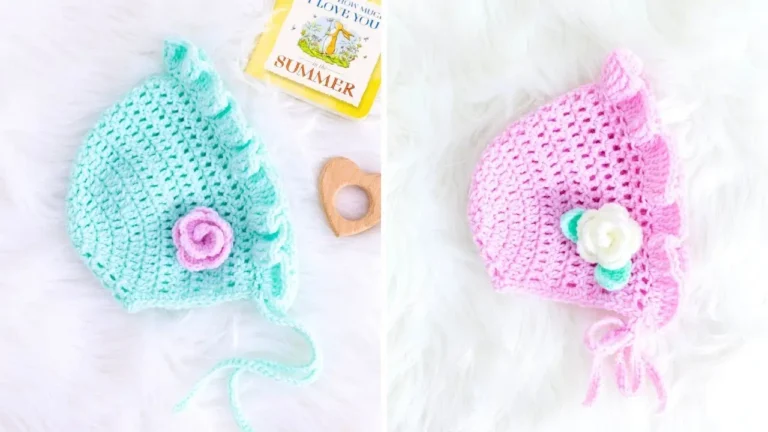
Crochet Flowers: Start at the center and work outward to create petals and decorative details. A magic circle gives flowers a neat starting point.
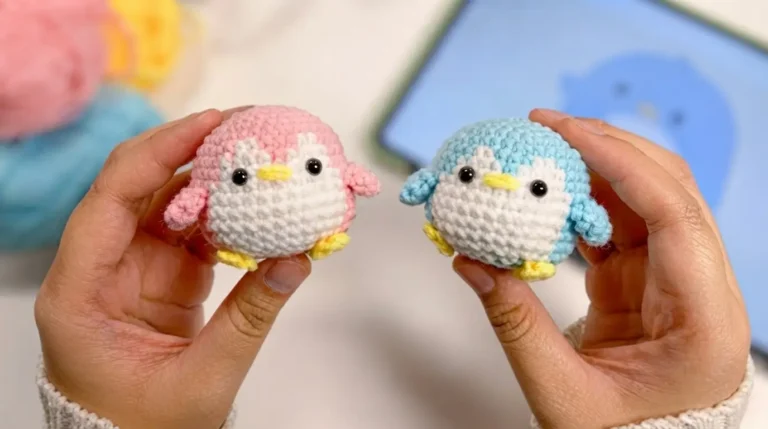
Amigurumi Toys: Many stuffed animals, dolls, and small crochet characters begin with a magic ring. The closed center helps keep the stuffing inside.
Crochet Coasters: Create a round foundation and add more rounds using different stitches and colours. Cotton yarn is a useful choice for coasters.
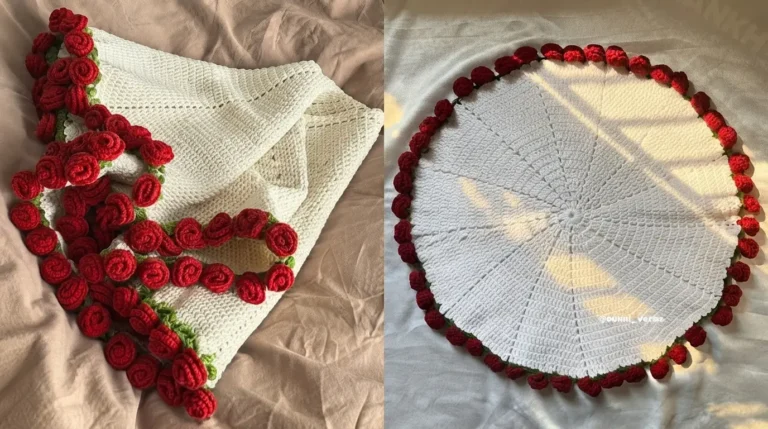
Granny Squares: Some floral and circular granny square designs begin with a magic circle before growing into a square shape.
Crochet Hats: Many top-down crochet hats begin with a circular center. The magic circle helps create a neat starting point before increasing the rounds.
Small Decorative Motifs: You can also use this technique for crochet ornaments, appliques, and other small handmade decorations.